My Inspired Space designs, builds and installs custom entertainment centers in Port Coquitlam — specified around the equipment rather than around the furniture. Component ventilation, acoustically open speaker sections, remote line of sight, cable capacity for the next upgrade, and a screen area sized for the screen after this one. Most installations completed in a single day, and the design consultation is free.
An entertainment center is the only cabinetry we build that has to work as part of a technical system. Everything else in a house holds objects that do nothing. This holds equipment that generates heat, needs to be seen by a remote control, has to pass sound through whatever is in front of it, connects to half a dozen other things by cable, and gets replaced on a shorter cycle than the cabinetry will last.
Which means the failures are functional rather than aesthetic, and they are specific. A receiver in a sealed cupboard runs hot and dies early. A component behind a solid door cannot see the remote. Speakers enclosed behind a panel sound muffled. A screen niche cut to today's dimensions cannot take the next screen. A cable chase sized to exactly what is in it today means the next upgrade involves taking the run apart. None of those are visible in a photograph, and all of them are decided before anything is cut.
So this page is about the system rather than the room. If what you want is the wider question — how a media wall sits alongside bookshelves, a fireplace and a window, and how much of the room the whole run should take — that belongs with living room cabinetry, which covers the walls and the proportions. What follows here is the equipment.
Custom entertainment center design in Port Coquitlam divides by configuration, and each configuration puts the equipment somewhere different. That is the decision the rest follows from.
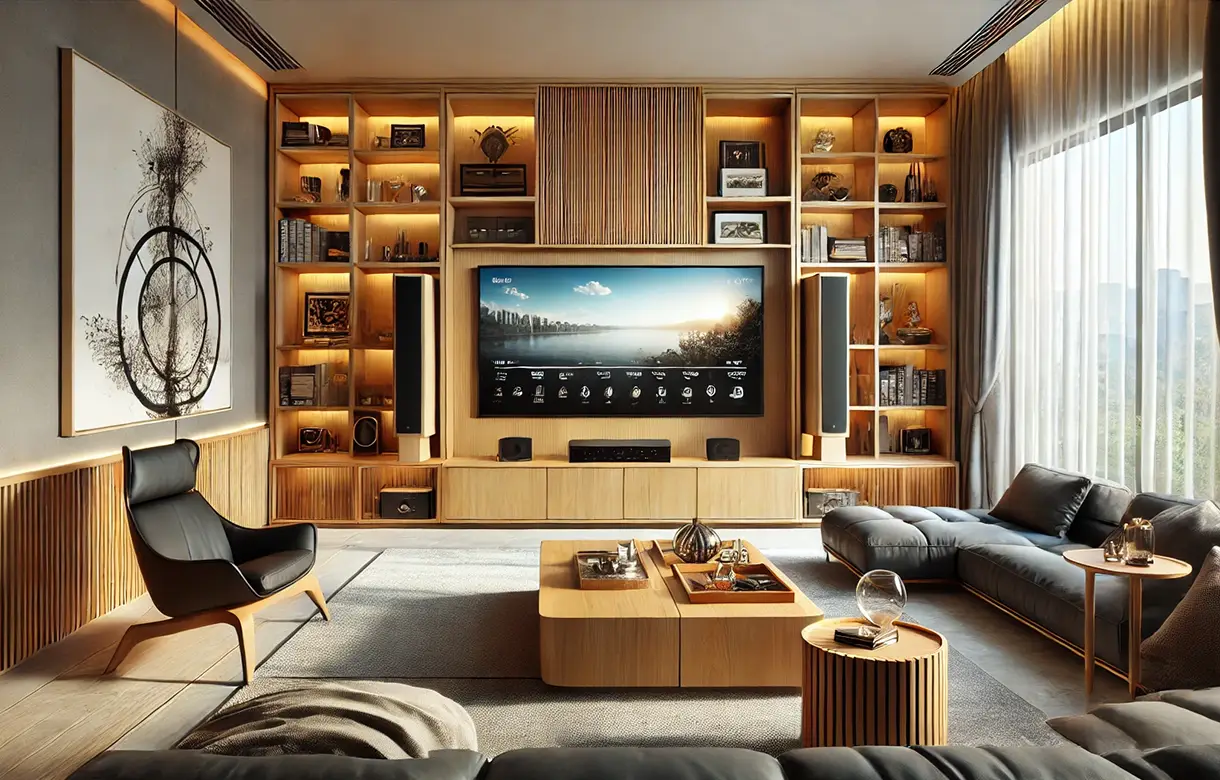
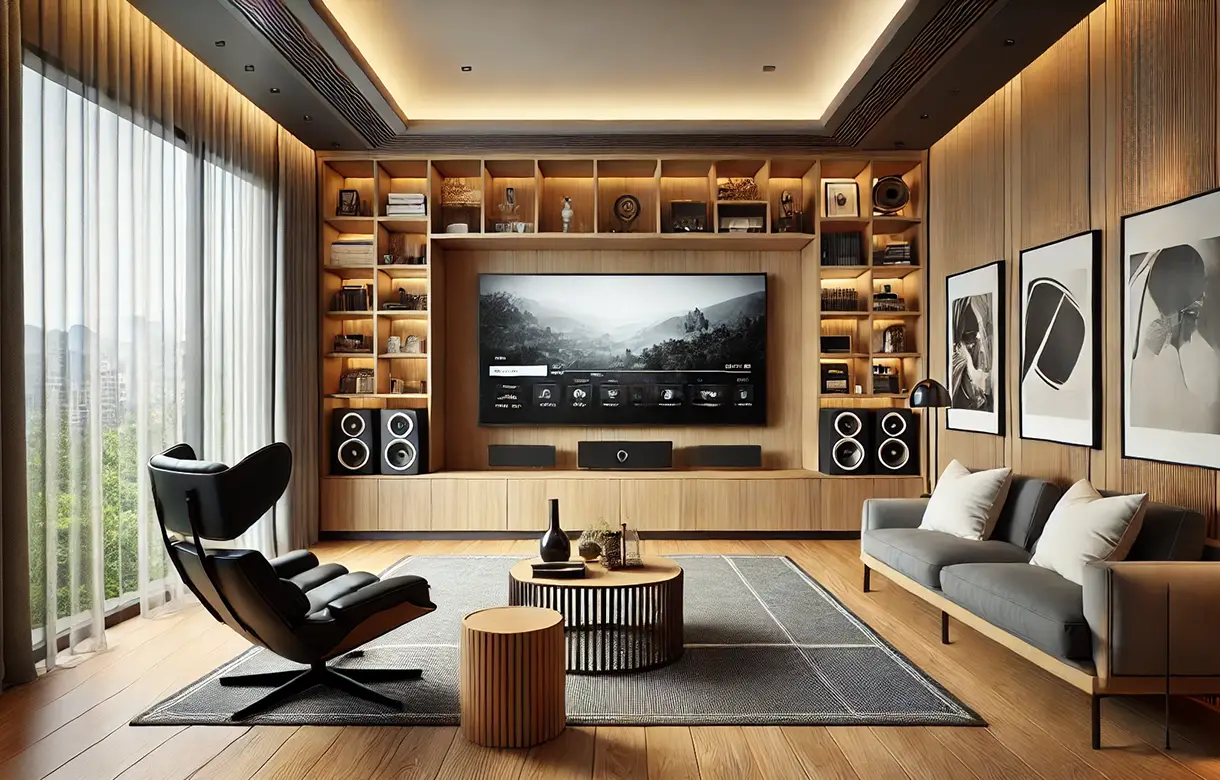
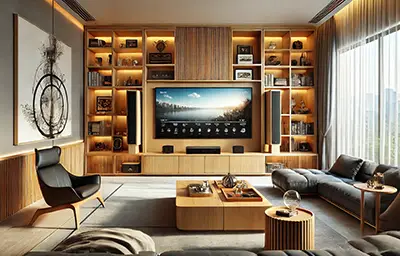
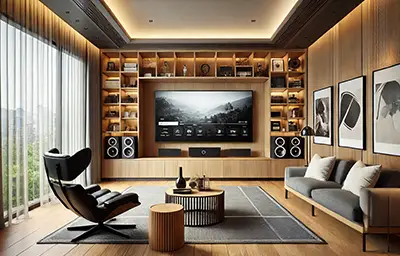
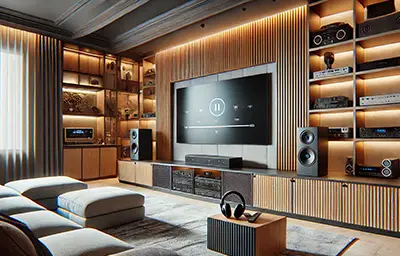
Floor to ceiling, wall to wall, with the screen area central and storage either side. It gives the most room for the equipment — a proper ventilated component section, space for speakers, generous cable capacity — and it is the configuration where future-proofing is easiest, because there is room to leave clearance around the screen area. It is also the one that commits the whole wall, so the screen position needs to be right first time.
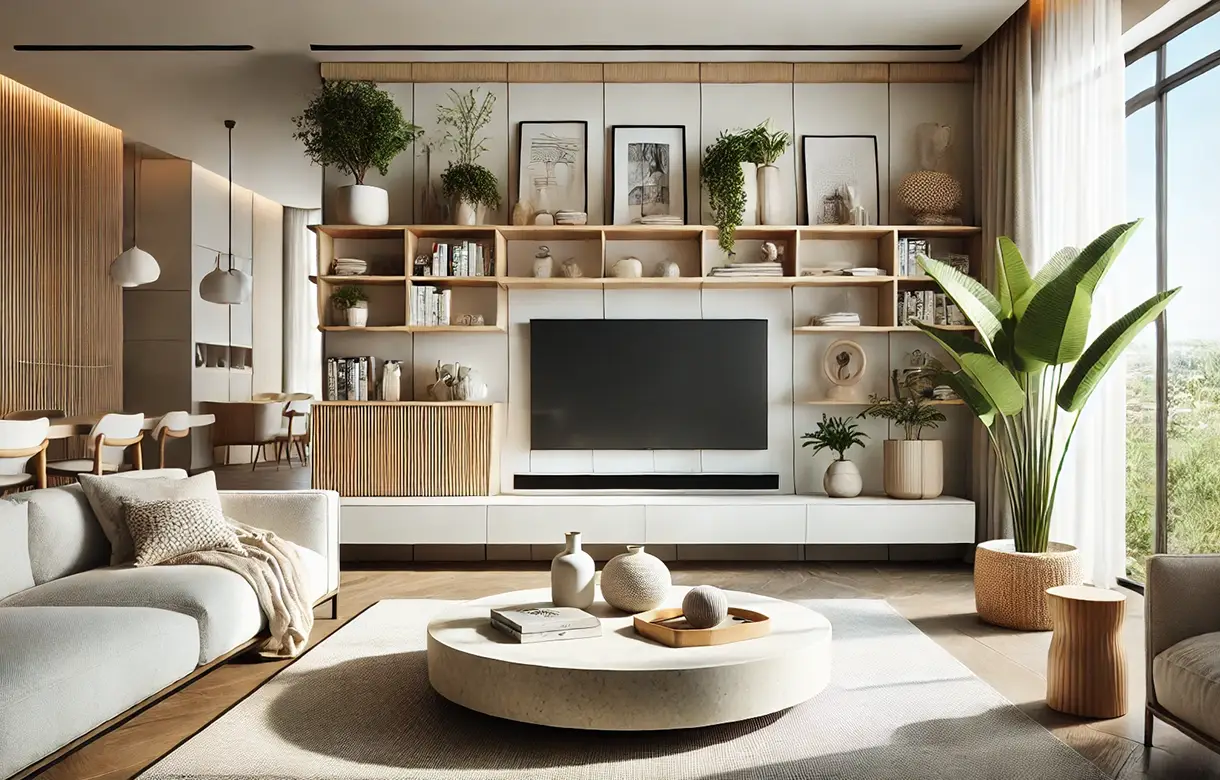
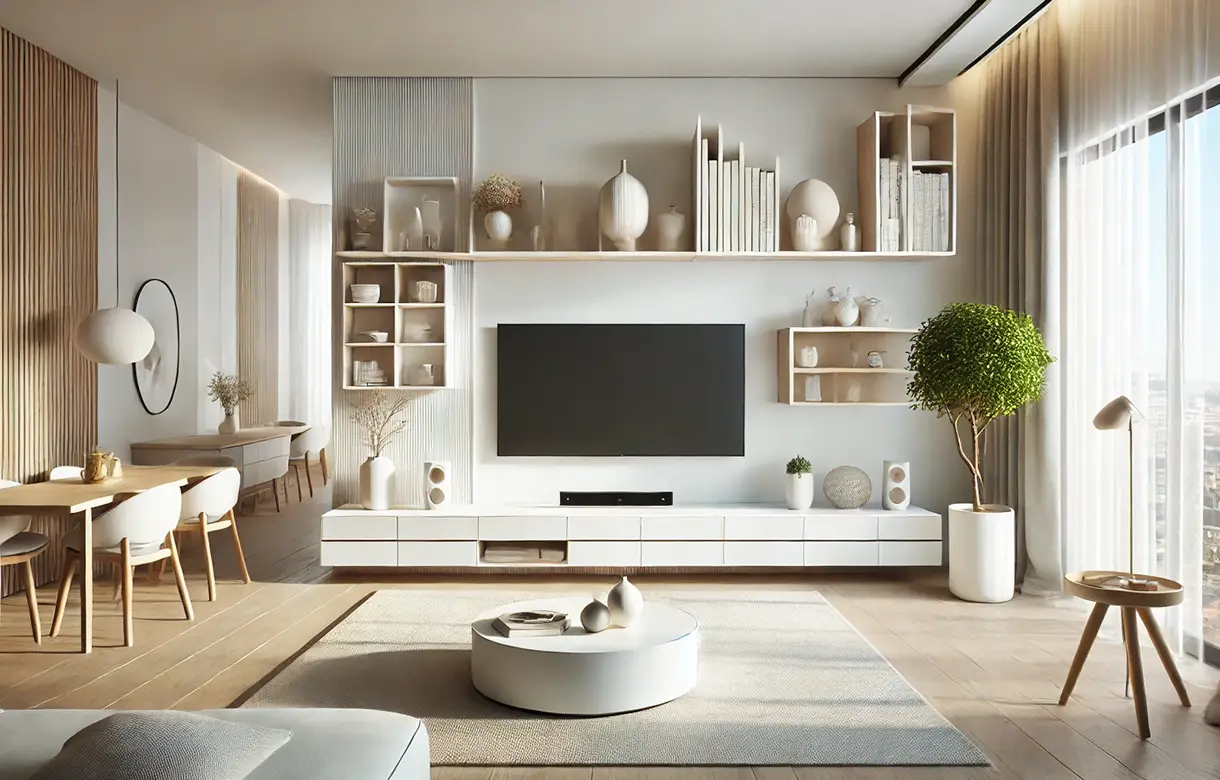
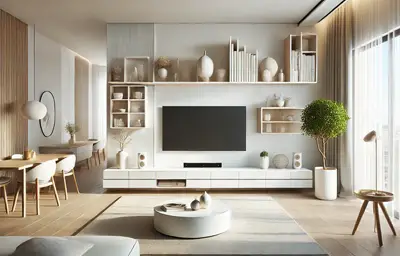
A long low cabinet beneath a wall-mounted screen, sometimes with open shelving above rather than a full surround. It keeps the wall visually light and suits a smaller room, and it puts all the equipment at one level, which makes ventilation and access straightforward. The constraint is volume: a low run has less space for components, so the equipment list has to be settled before the depth is fixed.
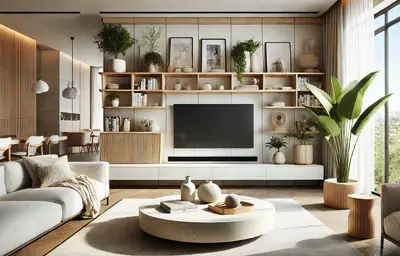
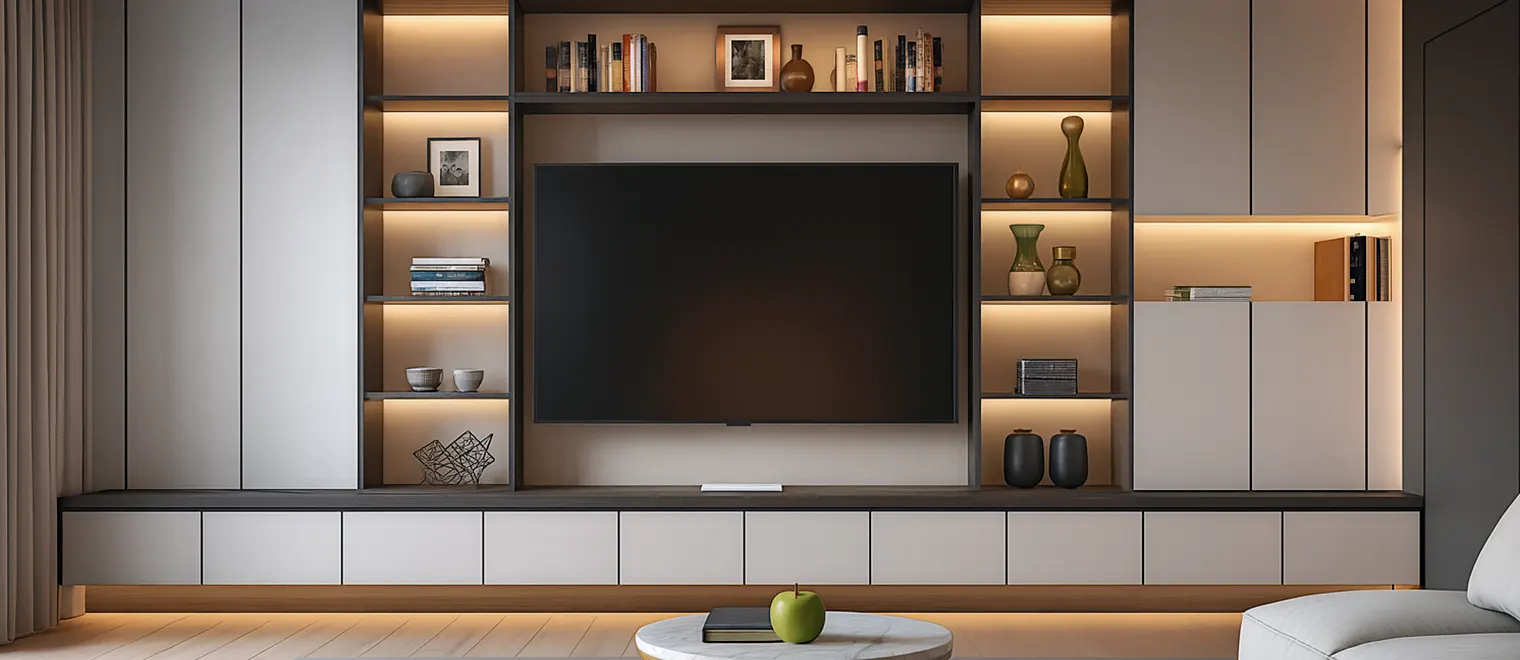
A custom entertainment wall in Port Coquitlam most often ends up here — a media section in the middle with tall cabinets either side taking books, games and the things a family room accumulates. The advantage over a console is that the flanking units carry the closed storage, so the media section itself can be given over entirely to equipment and airflow rather than doubling as general storage.
Less common and worth designing carefully, because a corner screen changes the viewing geometry for every seat in the room. It can be the right answer where the room has no uninterrupted wall, but the seating arrangement has to be checked against it rather than assumed — a corner that works for one chair frequently does not work for a sofa.
A different job entirely. The equipment moves away from the wall being watched, the wall itself becomes the surface, and the cabinetry holds sources and audio rather than a display. Throw distance and mounting position are set by the projector, so the model needs to be known before the run is drawn.
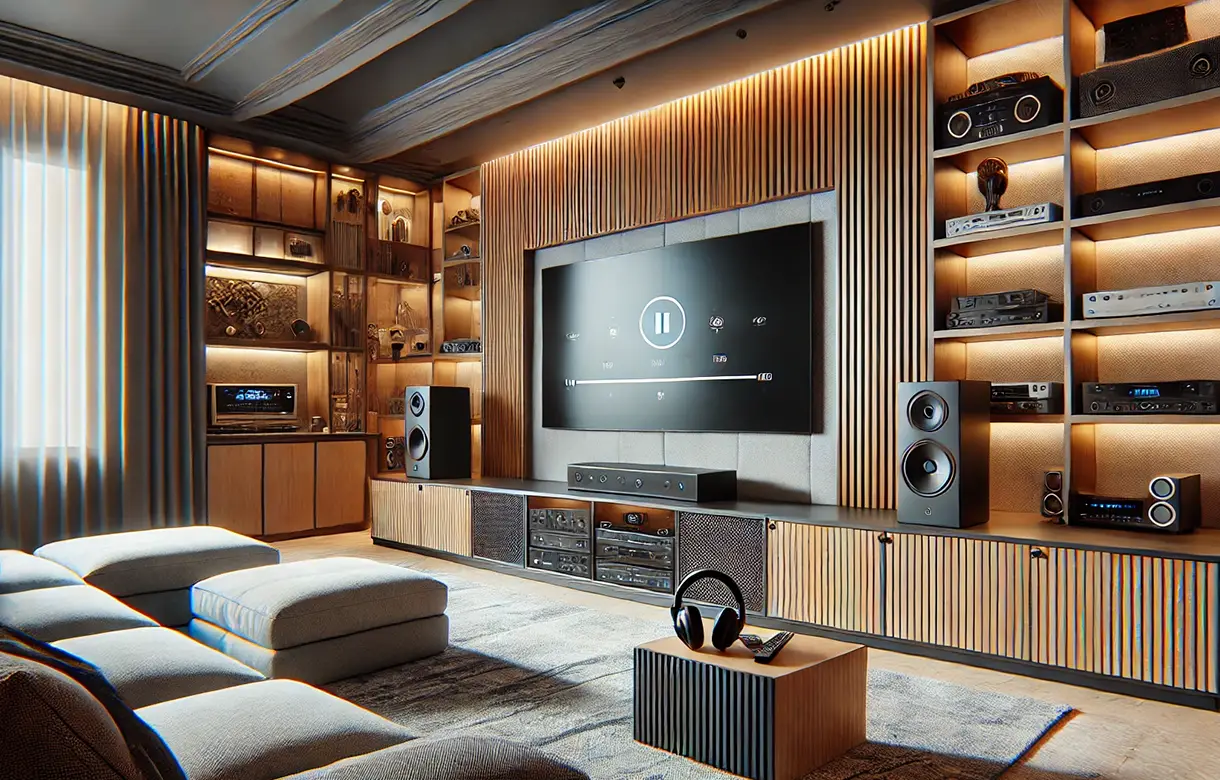
Worth specifying rather than assuming. Consoles run hot, get handled several times a week, and need to be visible to a controller. That points to a ventilated open bay or a pull-out at a reachable height rather than a sealed compartment at the back of a cupboard, with a shallow drawer alongside for controllers, headsets and charging cables.
A commonly cited rule of thumb puts seating between roughly one and a half and two and a half times the screen diagonal away from it. Measure that distance first. Then list the equipment, because the component count decides whether a low console has the volume or whether the design needs the flanking cabinets to carry the storage instead.
A shop-bought unit gives you a shelf of a standard depth behind a solid or glass door, a hole in the back panel, and a niche sized to a screen that was current when the range was designed. That is adequate until the equipment is switched on. Then the receiver has nowhere for its heat to go, the remote does not reach the box behind the door, the soundbar overhangs the shelf, and the cables come out of a single hole in a bundle.
Built-in entertainment centers in Port Coquitlam get specified from the equipment list instead. Component sections are sized and ventilated for the actual units, with clearance above and around each one. Fronts over anything with an infrared receiver are grille cloth, mesh or glass rather than solid panel. Speaker enclosures are acoustically open. Cable chases are cut into the carcass with capacity to spare, and conduit runs where a future upgrade is likely.
The second argument is the replacement cycle, and it is the one that separates cabinetry from electronics. Custom media walls in Port Coquitlam will be in place for a decade or more; the screen in the middle will be replaced two or three times in that period, and screens have grown steadily. A framed niche cut to today's dimensions is a decision that dates fast, which is why we size the opening generously or leave the screen area open rather than recessed.
Third is the room itself. Custom entertainment centers in Port Coquitlam homes are almost never going onto a clean rectangular wall — there is a fireplace slightly off centre, a window starting a couple of feet from a corner, a bulkhead, a heating vent, a doorway. Fitted work is cut to that wall, notched around the vent, scribed where it leans, and run to the ceiling. In older housing here, where decades of settlement mean nothing is quite plumb, that is the difference between a wall that reads as built and one that reads as delivered.
The component section is the part that most repays attention. Sized to the units going in with clearance around each, ventilated by an open back or a vented plinth, and fronted with something infrared passes through where the doors close over anything with a remote. Shelves adjustable, because the equipment will change shape before the cabinetry does.
Audio provision depends on what you have. A soundbar wants a shelf directly below or above the screen at a depth that does not let it overhang, and positioned so it does not sit in front of the screen's own infrared receiver. Separate speakers want their tweeters near seated ear height — roughly three to three and a half feet — which usually argues against tucking them into a low cabinet aimed at the floor. Where speakers do sit within the run, the fronts are grille cloth rather than solid, because a closed door muffles them.
Then the practical layer: cable chases with spare capacity and a conduit where a future upgrade is likely, outlet positions planned rather than inherited, a ventilated reachable bay for consoles with a shallow drawer for controllers, and closed storage in the flanking units for everything that is not part of the system. Where the room has to sleep a guest as well, a Murphy bed can be built into the same run.
The order matters and it is usually reversed. Measure from the seating to the wall, apply the rule of thumb — roughly one and a half to two and a half times the screen diagonal — and you have a screen size range the room supports. A 65-inch screen suits something like eight to thirteen feet. Choosing the screen first and then discovering the room is too small for it is the most expensive way round.
Screen make and size, receiver or amplifier, soundbar or separate speakers, subwoofer, consoles, streaming boxes, router, and anything else that plugs in. That list determines the depth of the component section, the ventilation detail, how many outlets are needed and where, and whether the fronts have to pass infrared. It takes five minutes and it is the single most useful thing to bring to a measure.
They are the same design problem seen from two angles. Anything generating heat needs airflow; anything with a remote needs to be seen. Solving both usually means an open or vented back plus a front that infrared passes through — grille cloth, mesh or glass — or an infrared repeater where solid doors are wanted for appearance. Deciding this after the cabinetry is built leaves you propping a door open.
Chases sized to exactly today's cable are chases that have to be enlarged. A conduit with a pull string, or simply a larger chase than the current bundle needs, turns the next upgrade into a ten-minute job. Cable standards change every few years; the cabinetry will outlast several generations of them.
Any in-wall cabling, new outlets, or backing for a wall mount happens before the cabinetry goes in front of it. The mount manufacturer specifies the fixing and the weight rating, and that backing has to be in place first — so the screen weight and the mount model belong in the first conversation. We coordinate the order of work; the load rating itself is the mount's to specify.
Putting the router inside the media cabinet is convenient and frequently a mistake. Enclosing wireless equipment in cabinetry reduces the signal reaching the rest of the house, and network gear generates heat like everything else. Where a wired connection to the media equipment is possible, run one and leave the access point outside the run.
These failures are all functional, which is why they surface within weeks of the equipment going in rather than years later.
Sealed component cupboards are first and the most damaging. A receiver in an unventilated cabinet runs hot continuously, and heat shortens the life of electronics more reliably than anything else. It is also the least visible fault, because the cabinet looks perfect.
Solid doors over infrared components is second, and it produces the specific symptom of a door propped open with a book. It is entirely avoidable at design stage and effectively unfixable afterwards without replacing the fronts.
Enclosed speakers is third. A speaker behind a solid panel is a speaker you have paid for and cannot properly hear. Grille cloth fronts cost no more and solve it.
Then the screen niche cut to size, which looks precise and becomes a constraint the first time the screen is replaced. And cable chases with no spare capacity, which turn a routine upgrade into a dismantling job.
The last is the screen mounted too high, usually above a fireplace. It is the most requested position and it means watching with your chin raised for hours. Once the cabinetry is built around it there is no adjustment available.
A designer visits your Port Coquitlam home, measures the wall and the seating distance, and lists the equipment going in — screen size and weight, mount model, audio, components, consoles, network gear. We check what is already on that wall, establish where power and any in-wall cabling will be needed, and confirm the screen position against seated eye level. Free, no obligation.
You see the run drawn with the screen at the confirmed height, the component section sized and vented for your kit, the speaker positions shown, and the cable routes and conduit marked so the electrical and cabling work can be sequenced ahead of installation. The price sits with the drawing.
Components are cut, edged and finished to the approved drawings, including the ventilation detail, cable chases and conduit, grille cloth or glass fronts where infrared has to pass, and scribe allowances for the wall as measured.
Our own crew installs and scribes the run. Most entertainment center installations in Port Coquitlam finish in a single day; a full wall with audio provision and flanking storage may run to a second, confirmed in advance. In-wall cabling, outlets and mount backing are completed before we install, not after. The work carries a satisfaction guarantee.
Three construction decisions here have no equivalent elsewhere in the house.
The first is airflow, which is designed rather than assumed. A component bay is detailed with an open or vented back, clearance above each unit, and a path for warm air to leave — usually upward and out rather than trapped behind a plinth. Where doors close over the bay, the front has to be permeable to both air and infrared, which is why grille cloth is a functional specification on this page and a decorative one everywhere else.
The second is acoustic transparency. Any section housing a speaker is built so the sound gets out: an open front, a fabric-covered frame, or a frame with the cloth stretched rather than a solid panel with a hole in it. A cabinet designed to hide a speaker completely will do exactly that.
The third is capacity for change. Chases and conduit are cut oversized at manufacture, shelf positions in the component bay are adjustable across a wide range, and the screen area is either left open or given generous clearance. The cabinetry is the long-lived part of the installation; everything it holds will be replaced sooner.
Beyond those, the usual: fixing into framing, full-extension slides where drawers are used, soft-close on what gets opened daily, finished panels on every visible side, and scribed edges where the run meets a wall that is not plumb.
Four uses cover nearly all of it, and each shifts the specification somewhere different.
Film-led rooms put the weight on audio and on viewing geometry. These are the projects where separate speakers rather than a soundbar are likely, where the subwoofer needs somewhere real to sit, where seated ear height genuinely governs the design, and where the screen size is being pushed to the limit of the viewing distance. The component section is the largest of any configuration.
Sports-led rooms tend towards the largest screen the wall and distance will carry, with seating for more people than a film room, and often a second screen. The practical implications are power provision for more devices and a design that works when the room is full rather than when two people are on the sofa.
Gaming-led rooms are the ones most often specified badly, because consoles are treated as components when they behave differently: they run hot, get handled constantly, and need controller and cable storage within reach. These runs want an open vented bay at a reachable height rather than a sealed compartment, and a shallow drawer that stops controllers living on the floor.
The everyday family room is the fourth and the commonest here. Most Port Coquitlam media walls are in a room that is also where the children play, homework happens and guests sit, which means the closed storage in the flanking units is doing as much work as the media section. That is the case where an entertainment center and general living room cabinetry are really one project, and we design them together.
Beyond Port Coquitlam we work throughout Coquitlam, Port Moody, Pitt Meadows, Maple Ridge, Langley, Burnaby, New Westminster and Vancouver.
A low console run typically starts at [VERIFY]. A media section with flanking storage is [VERIFY], and a full-wall built-in [VERIFY]. Grille cloth or glass fronts: [VERIFY]. In-wall cabling and outlets included or arranged separately: [VERIFY].